Let’s test the WSO2 Identity Server using the mobile phone, specifically FIDO.

In the context of testing, it’s inevitable to access WSO2 IS using the mobile phone. Nevertheless, it involves several challenges such as,
- Cannot access WSO2 IS using localhost as we do on the PC.
- Indeed, we can access using the private IP when we connect the mobile phone and the PC to the same network. However, there could be certificate issues due to mismatching of the common name (CN) / missing subject alternative names (SAN).
- FIDO cannot be tested using the IP address as per the spec. Hence, it’s an obligatory requirement to have a domain name.
Well, let’s address the challenges successively: one at a time!
Access WSO2 IS using the IP address
This is pretty simple and we gotta do nothing other than connecting both PC and the mobile phone to the same WIFI/ LAN network.
Accessing the management console
- Start the WSO2 IS on your PC.
- Get the private IP address of your PC (We can use
ifconfig(MAC/ Linux) oripconfig(Windows) to get the IP address. ex:192.168.1.101). - Connect both the PC and the Mobile phone to the same WIFI/ LAN network.
- Access the WSO2 IS using the browser on your mobile phone.
(https://192.168.1.101:9443/carbon)
That’s it, you should be able to access the management console of WSO2 IS (You may get a certificate warning in the browser, which you can bypass by selecting Advanced and then clicking Proceed).
Accessing the UserPortal or MyAccount
Try accessing the UserPortal(https://192.168.1.101:9443/user-portal) — IS 5.10.0 or MyAccount (https://192.168.1.101:9443/myaccount) — IS 5.11.0 from your mobile phone. However, this won’t work since,
When we access the UserPortal or MyAccount, it’ll internally build the authorization request URL using the hostname configured in the deployment.toml file. Therefore, though we’re accessing the WSO2 IS using the IP address, the authorization request will be made to localhost as follows.
https://localhost:9443/oauth2/authorize?response_type=code…Hence, in order to resolve it, we can simply change the hostname to the private IP address of the PC in the deployment.toml file.
[server]
hostname = "192.168.1.101"
Restart the server once the deployment.toml is updated. Moreover, we’ll have to update the callback URL as well in order to prevent the callback URL validation error (Service Provider → List → Edit → Callback Url)
UserPortal: https://192.168.1.101:9443/user-portal/login
MyAccount: https://192.168.1.101:9443/myaccount/login
Further, we should also update the Identity Provider Entity ID to align with the hostname (Identity Providers → Inbound Authentication Configuration → OAuth2/OpenID Connect Configuration → Identity Provider Entity ID) — The MyAccount requires updating this to prevent issuer validation failure in the ID token.
https://192.168.1.101:9443/oauth2/tokenThat’s it! We’re good to access the UserPortal (https://192.168.1.101:9443/user-portal) or MyAccount (https://192.168.1.101:9443/myaccount) using the IP address from the mobile phone.
Well, out of curiosity, just try registering FIDO in the UserPortal or MyAccount by navigating to Security → Multi-factor authentication → via Security Device and it should fail as FIDO cannot be used with IP address as per the spec.
Access WSO2 IS using a domain
Prerequisites: Your router should support Dynamic DNS (Almost all the routers support it — Check for your router documentation).
Resolving DNS
- Create an account at www.noip.com providing a hostname (ex:
wso2is.ddns.net) - Click My Account.
- You may add a username and security question when it prompted (Optional).
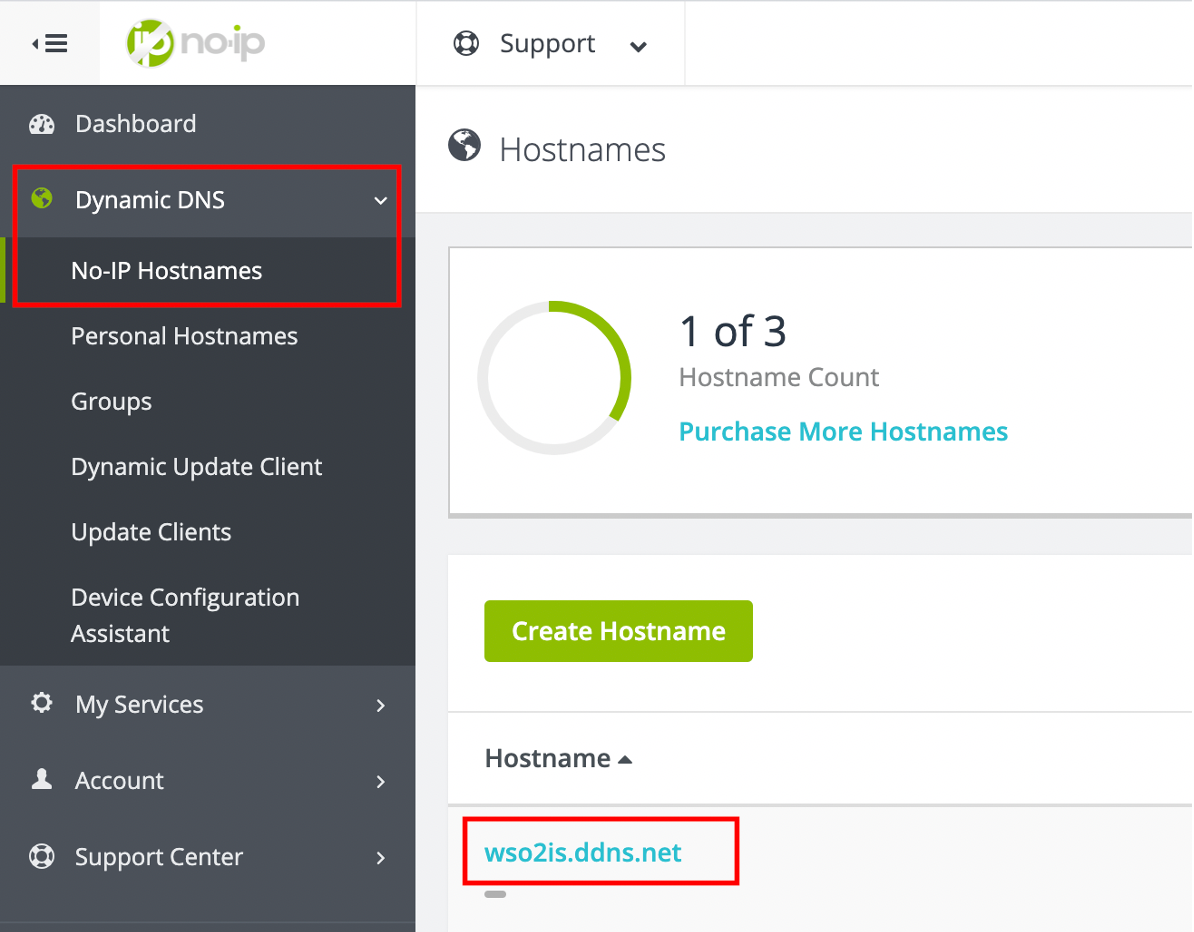
- Navigate to Dynamic DNS → No-IP Hostnames → Click the hostname (wso2is.ddns.net)

5. Enter the private IP address of the PC (192.168.1.101).
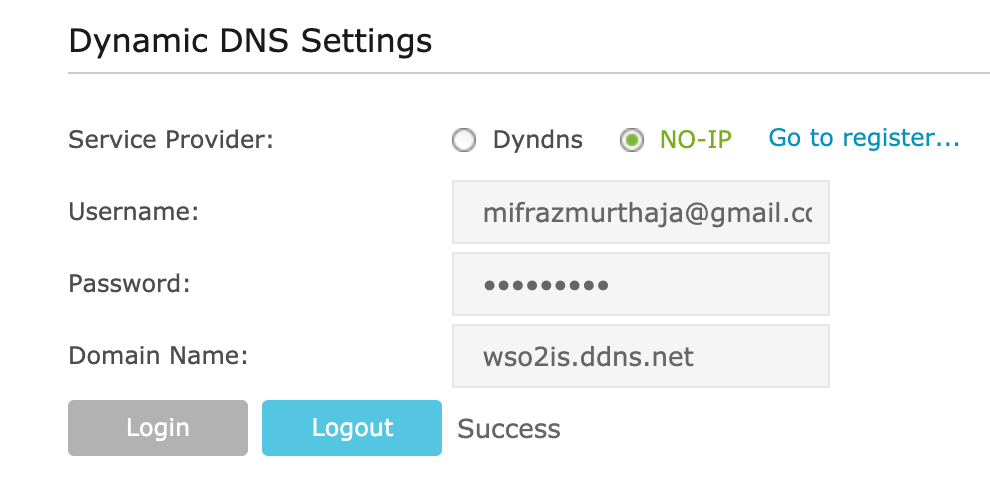
6. Configure Dynamic DNS in your router to use the no-ip domain (Probably it should be at Advanced → Network → Dynamic DNS) — Check with your router documentation (You may provide the email address or the username you’ve configured as the username).

That’s it! You should now be able to access the management console using the domain you’ve just configured(https://wso2is.ddns.net:9443/carbon).
Changing the hostname in WSO2 IS
Well, you can refer to Changing the hostname documentation for a detailed guide to change the hostname of WSO2 IS. Let’s see the necessary steps to change the hostname of WSO2 IS below (We cannot access the UserPortal or MyAccount without changing the hostname of WSO2 IS due to the reason mentioned earlier).
- Create a Keystore with the new hostname in
<IS_HOME>/repository/resources/securitydirectory.
keytool -genkey -alias wso2carbon -keyalg RSA -keysize 2048 -keystore wso2carbon_new.jks -dname "CN=wso2is.ddns.net, OU=Home,O=Home,L=SL,S=WS,C=LK" -storepass wso2carbon -keypass wso2carbon -validity 3602. Export the certificate from the Keystore.
keytool -exportcert -keystore wso2carbon_new.jks -alias wso2carbon -file wso2carbon_new.crt3. Import the certificate to the client-truststore (Default password of the client-truststore is wso2carbon and type yes when it’s prompted to trust the certificate).
keytool -importcert -keystore client-truststore.jks -alias wso2carbon_new -file wso2carbon_new.crt4. Change the hostname in deployment.toml.
[server]
hostname = "wso2is.ddns.net"
5. Restart the server.
6. Update the Identity Provider Entity ID (Identity Providers → Inbound Authentication Configuration → OAuth2/OpenID Connect Configuration → Identity Provider Entity ID).
https://wso2is.ddns.net:9443/oauth2/token7. Update the callback URL of UserPortal or MyAccount (You may also use a regex if required).
UserPortal: https://wso2is.ddns.net:9443/user-portal/login
MyAccount: https://wso2is.ddns.net:9443/myaccount/login
Trust me, that’s it! Let’s access the UserPortal or MyAccount from your mobile phone!
UserPortal: https://wso2is.ddns.net:9443/user-portal
MyAccount: https://wso2is.ddns.net:9443/myaccount
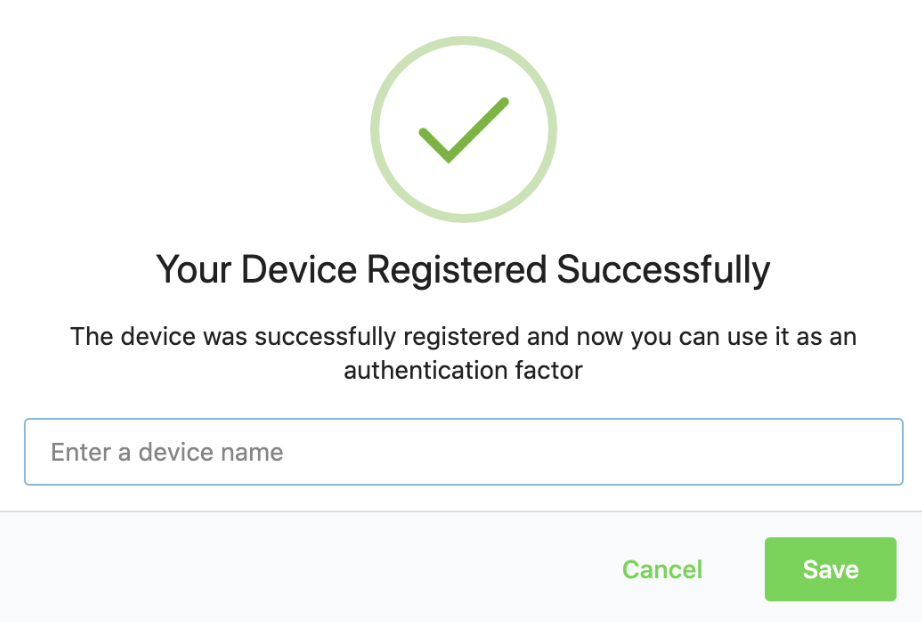
Now you should be able to register FIDO using the mobile fingerprint by navigating to Security → Multi-factor authentication → via Security Device in your mobile phone.
Known issue: https://github.com/wso2/product-is/issues/11055 (Fixed in the latest update of WSO2 IS 5.10 and 5.11)
Find this on my blog!
Cheers!
